


If you go out onto the Internet, whether it is YouTube, one of the many prepper websites, any of the preparedness forums, and so forth, you are always treated to a wealth of interesting and useful information. Information on food storage, bug out bags, fire starting, EDC reviews, and all sorts of other subjects are common, with the issues of food and clean water being the most important. While many would think personal defense is the next most important issue to be discussed, the truth of the matter is that the need to defend yourself is a potential and not an absolute certainty. What is an absolute certainty and must be considered the third most important subject to be addressed in a long emergency situation is how to deal with your waste. Whether it is pee or poo, human waste has a high potential for causing many diseases, and this potential is made worse by how much pee and poo each person creates day after day after day.
Today, we live in what many would consider a fairly sterile environment as compared to what people lived in a century ago. The customary washing of hands before eating has become a distant memory for many, because we just never seem to get all that dirty any more. Additionally, most people today have been brought up with toilets in their homes. They go into the bathroom, do their business, hit the flush handle, and then leave, without any further thought. Magically, their pee and poo just disappears at the push of a button, so little or no thought goes to sanitation, if or why it is important, or how sewage treatment even works. Some who have thought about this are those who have gone camping where they are required to use an outhouse. Even then, all their thoughts are usually focused on the terrible stench found in the outhouse, and little thought is given to anything else. Those that go camping further back into the bush often do not have an outhouse or portable toilet available, so they typically just wander away from camp to do their business and then forget about it. All of these behaviors lead us to think about pee and poo as a smelly inconvenience and little else. Nothing could be more wrong. In a world where 2.5 billion people still lack flush toilets, around 1.5 million die every year from diarrhea, with the majority of these deathes being those under the age of 5. In a SHTF situation, these conditions would come to America and we would pay a far worse penalty, for we have little experience with this matter.
Pee and poo are very dangerous on many levels and the inappropriate handling of them can cause many diseases. The most common of these diseases would be dysentery and cholera, while other diseases and disease-causing microorganisms that can easily be transmitted include clostridium, E. coli, hepatitis, norovirus, giardia, rotavirus, clostridium, shigella, and many others. Frequently, these are all often lumped together under the title of food poisoning. While many think that the primary method of transmitting these illnesses is via contaminated water, the truth of the matter is that these disease-causing microorganisms can be transmitted in many other ways. Other methods of transmitting these disease causing microorganisms include improper hand washing, poor personal hygiene, improper waste disposal, improper washing of food, flies, and other insects, diaper changing/diaper disposal, and the preparation of food in unclean environments. A clear example of both how badly and rapidly these and similar diseases can affect you, as well as how hard it is to track down the specific vector causing these health problems, can easily be seen on cruise ships that have had to return to port early due to rampant health problems and restaurants, such as Chipotle, that have had repeated customer complaints about food poisoning. In all of these cases, many people were quickly affected with debilitating and potentially life threatening disease/symptoms while the specific cause could never seem to be isolated.
What makes this issue so extremely important is that we have become so used to having toilets in our homes that function, we never think of what we could or should do if they stop working. If cities lose electrical power for an extended period due to an EMP event, social unrest, or whatever, toilets will stop working. With no electrical power, sewage treatment plants will stop, so sewage pipes will fill and will not be emptied. Water pumps will stop, so no water will be available to flush toilets. Sewage lift pumps, which pull sewage uphill to get to the sewage treatment plant) will stop, so sewage may back up into homes, and so forth. It seems as if people plan for all sorts of contingencies in the event something happen at their home, but few, if any, plan on what to do when the toilets stop working. This becomes an overwhelming issue, should you and your family be forced to bug in and you neither planned nor prepared for this.
The question that now arises, and the question that so few think to ask or seem able to answer, is “How do we properly treat our wastes in order to keep us safe and healthy?”
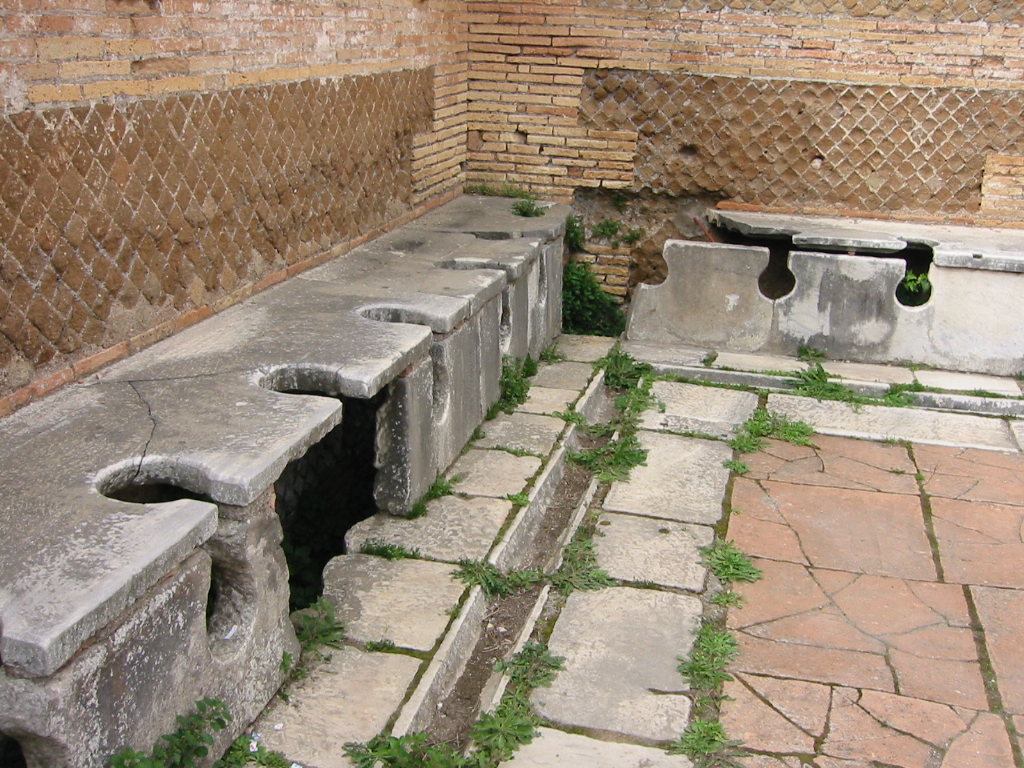
Latrines (a.k.a. Outhouses)
The simplest, and historically most common, method for handling human waste issue is to simply dig a latrine or outhouse. While this is the most cost effective method available, it can be the cause of many problems if not done correctly.
The first issue that must be addressed is location. According to the WHO, the latrine should be no closer than 20 feet to a house and no closer than 100 feet to rivers, wells, or springs. It should be constructed downhill from any water sources and should not be built in rock formations because the cracks and such in the rock will allow for the flow of human wastes through these cracks to unknown distant points. Also, the bottom of the latrine pit should be a minimum of six feet above the water table, as measured during the wet season if there is one, and they should never be built where it can flood.
Latrines can come in any size. A single person does not have a large need, so they could get by with a simple squat hole. This hole would be a somewhat narrow (a foot or so in diameter), several feet deep, and covered with a simple platform containing a center hole and a cover. For a family or a large group, a larger latrine is needed and can be built to a minimum of five feet deep and 3-5 feet in diameter. The latrine pit can be sized larger, if necessary, using the calculation that a person will require about 0.5 cubic feet of volume per year of usage and if materials such as bulky leaves, corn cobs, stones, and such, are to be used after defecation, then the volume should be increased by 50%. Lastly, when the latrine pit is full, there should be enough room left to allow several feet of earth to be placed on top as a cover.
Latrines offer additional hazards that must be considered. The primary hazard is flies and insects. These can land on the feces to lay eggs and then they fly out to contaminate the surrounding area. It is for this reason that food preparation areas must be located much further away than the 20 feet needed for a house. Ideally, mosquito netting can be used to protect food preparation areas. If a building is constructed around the latrine, then the door should remain closed. Additionally, the hole into the pit should always remain covered when not in use. Any structure around the latrine should be kept as clean as possible to reduce the potential for disease, and no standing water should be allowed nearby that could promote the breeding of mosquitos.
There are many methods that can be used to help control latrine odor as well as insects. One method is to build a structure around the latrine and have a ventilation pipe running from the pit and exhausting above the roof. This will help remove odor from the structure and, since insects are drawn towards the latrine odor, the top of the ventilation pipe should be covered with a screen to prevent insects from entering. Also, the pipe should be covered to prevent rainwater from entering. Ashes or sawdust can be sprinkled on top of the feces in the latrine pit from time to time and this will aid in both reducing the odor of the latrine and help speed the decomposition of the wastes. The same effect can be accomplished using crushed lime and food wastes. It should be noted, however, that the addition of these materials to the latrine pit will shorten the lifespan of the latrine by causing it to fill more quickly.